
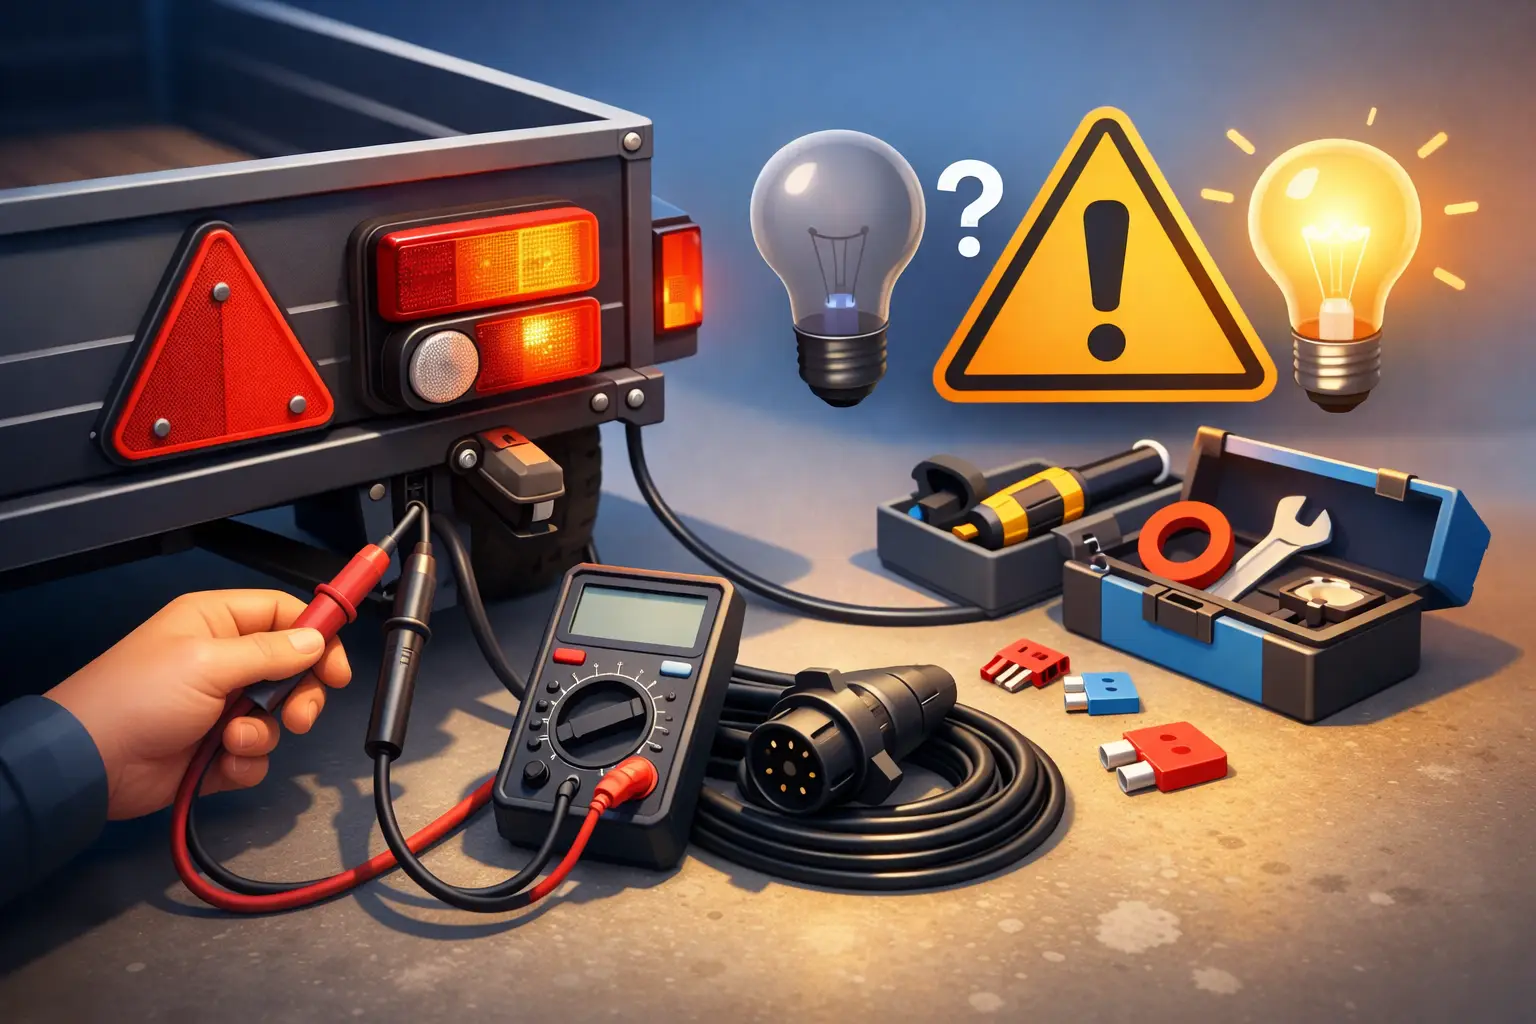
You hitch up, plug in, test the lights, and nothing happens. Or maybe one indicator works, the brake lights are weak, or the tail lights cut in and out when you hit a bump. If your trailer lights not working is the problem, the cause is usually straightforward – but finding it quickly matters, especially when the trailer is part of your day’s work.
Lighting faults on trailers are common because the system cops plenty of abuse. Plugs get dirty, wiring gets stretched, connections corrode, and lamps take a beating from weather, water and vibration. For tradies, transport operators and anyone towing regularly, a small fault can turn into wasted time, compliance issues and a trailer that should not be on the road.
Why trailer lights not working is such a common fault
A trailer lighting system looks simple, but it relies on several parts all working together. Power has to leave the tow vehicle, travel through the socket and plug, run cleanly through the trailer loom, and reach each lamp with a solid earth return. A fault anywhere along that path can knock out one light or the whole setup.
The most common issue is not usually the light itself. More often, it is a bad earth, corrosion in the plug, damaged cable near the drawbar, or a problem on the towing vehicle side. That last point gets missed a lot. People replace trailer lamps, only to find the fault is in the socket on the vehicle or a blown fuse in the tow vehicle’s circuit.
On commercial trailers and hard-used work gear, vibration is a major factor. Wires rub through, connectors loosen off, and repairs done in a hurry do not always hold up. On boat trailers, moisture and corrosion are even bigger culprits.
Start with the towing vehicle
Before pulling the trailer apart, check the vehicle side first. If the socket is not sending the right output, the trailer will never work properly no matter how many parts you replace.
Look at the trailer socket for bent pins, green corrosion, dirt, or signs of overheating. If the socket is loose or the wiring behind it has been strained, that can create intermittent faults. Test each function – tail lights, brake lights, indicators and reverse if fitted. A proper test light or multimeter is the quickest way to confirm whether power is reaching the socket as it should.
It is also worth checking the fuse protection for the trailer lighting circuit. Some vehicles have separate trailer fuses, and newer vehicles may have body control systems or tow modules that complicate things. If a fuse has blown once, do not just replace it and move on. There may be a short in the trailer loom that caused it in the first place.
Check the trailer plug and lead
Once the vehicle side checks out, move to the trailer plug and lead. This is one of the highest-failure points in the whole system because it is constantly handled, dragged, twisted and exposed to the weather.
Open the plug if needed and inspect the terminals. Loose screws, broken wires, moisture ingress and corrosion are all common. Even if the terminals look connected, a wire can break internally near the entry point where it flexes most. If the cable sheath is split or crushed, the loom may have damage further inside.
If the trailer lights work only when you jiggle the plug, you are already close to the answer. That points to poor pin contact, a worn plug, or a broken wire near the plug head. In many cases, replacing the plug and tidying the cable properly is faster and more reliable than trying to salvage a badly worn one.
The earth fault that causes half the headaches
If the lights are dim, flashing oddly, or back-feeding through another circuit, suspect an earth fault. This is one of the most common reasons trailer lights not working turns into a frustrating fault to chase.
A poor earth can make indicators flash the tail lamps, brakes affect one side only, or multiple lights fail at once. On older trailers, the earth path may rely on a chassis connection that has rust, paint build-up, or a loose fixing point. On newer or repaired trailers, the earth wire may simply have a weak crimp or broken join.
A dedicated earth return wire is usually the better setup, especially on trailers that see regular commercial use. Chassis earths can work, but they are more vulnerable to corrosion and mechanical wear over time. If the earth is the issue, cleaning up one connection may solve it for now, but a proper repair often means reworking that section so it stays fixed.
Look closely at the trailer wiring loom
If the plug and earth are sound, inspect the loom from front to back. Pay particular attention to areas where the cable passes through metal, around the drawbar, near axle mounts, and anywhere it has been cable-tied against sharp edges.
You are looking for rubbed insulation, crushed sections, exposed copper, previous join repairs, or hanging wires. A loom can fail in one obvious spot, but it can also have several weak points from years of use. That is why patching one break does not always end the problem.
On work trailers, damage often happens where the cable has not been clipped properly and is left to move around. On tipping trailers and plant trailers, any area with moving sections needs extra scrutiny. If a loom is brittle, heavily corroded or full of old joins, replacing it can be more cost-effective than chasing one fault after another.
Lamp fittings, globes and LED units
Sometimes the issue is local to one lamp. A blown globe, corroded socket, cracked lens or failed LED fitting can all cause a single light to stop working. Water ingress is a regular cause, particularly on trailers that live outdoors or go near water.
Traditional globe-style fittings can often be repaired with new globes or cleaned contacts, but there is a limit. If the lamp body is cracked or the socket is badly corroded, replacement is the smarter option. LED lamps are generally more durable, but when they fail, the whole unit usually needs replacing.
It also pays to check that the lamps fitted match the wiring system and voltage requirements. Mismatched components, poor aftermarket installations and cheap fittings can create repeat faults.
When the problem is intermittent
Intermittent trailer lighting faults are usually caused by movement, heat or moisture. The lights may work in the yard and fail on the road, or work in dry weather and stop after rain.
That sort of fault points to a loose terminal, broken wire strands inside the insulation, water in a connector, or a socket that loses contact under vibration. These jobs can be time-consuming because the fault hides until the right condition brings it out.
This is where proper diagnostic testing matters. Rather than swapping random parts, a technician can load-test circuits, trace voltage drop, and isolate whether the issue is on the vehicle side, the trailer side, or both. That saves time and cuts down on repeat repairs.
Repair or replace?
It depends on the age of the trailer, the condition of the existing wiring and how critical reliability is for your operation. If one wire has been damaged by accident and the rest of the system is sound, a targeted repair can be fine. If the plug, loom, lamps and earth points all show age and corrosion, piecemeal repairs may cost more in downtime than a proper rewire.
For commercial operators, reliability matters more than squeezing one more month out of tired wiring. A trailer that is in and out of service for lighting faults costs time, creates safety risks and can interrupt deliveries or site work. In those cases, replacing worn components properly is usually the better call.
When to get an auto electrician involved
If basic checks do not show an obvious fault, or if the vehicle and trailer both may be involved, it is worth getting the system tested properly. Modern tow vehicle wiring is not always simple, and commercial trailers often have more complex setups than people expect.
An experienced auto electrician can test the socket output, inspect the trailer loom, confirm earth integrity and repair the fault using the right parts and methods. For fleet vehicles, trucks and regularly used trailers, that can be done as part of broader preventative maintenance rather than waiting for a breakdown.
For operators around Auckland, mobile support can make a real difference when the trailer cannot easily be brought into a workshop. That is often the fastest way to get a fault diagnosed and the trailer back into service without dragging out the downtime.
A few habits that help prevent repeat faults
Trailer lighting faults are not always avoidable, but they are often preventable. Keeping plugs clean, securing looms properly, replacing damaged fittings early and checking lights before a run all help. So does avoiding quick patch jobs that leave wires exposed or unsupported.
If a trailer is used hard, parked outside, or exposed to water and mud, inspection intervals should be shorter. A five-minute check in the yard can save a roadside problem later.
When your trailer lights stop working, the main thing is not to guess. Start at the vehicle, work through the plug, earth and loom methodically, and fix the root cause properly. A reliable lighting system is not just about avoiding fines – it keeps the trailer safe, visible and ready for the next job.