
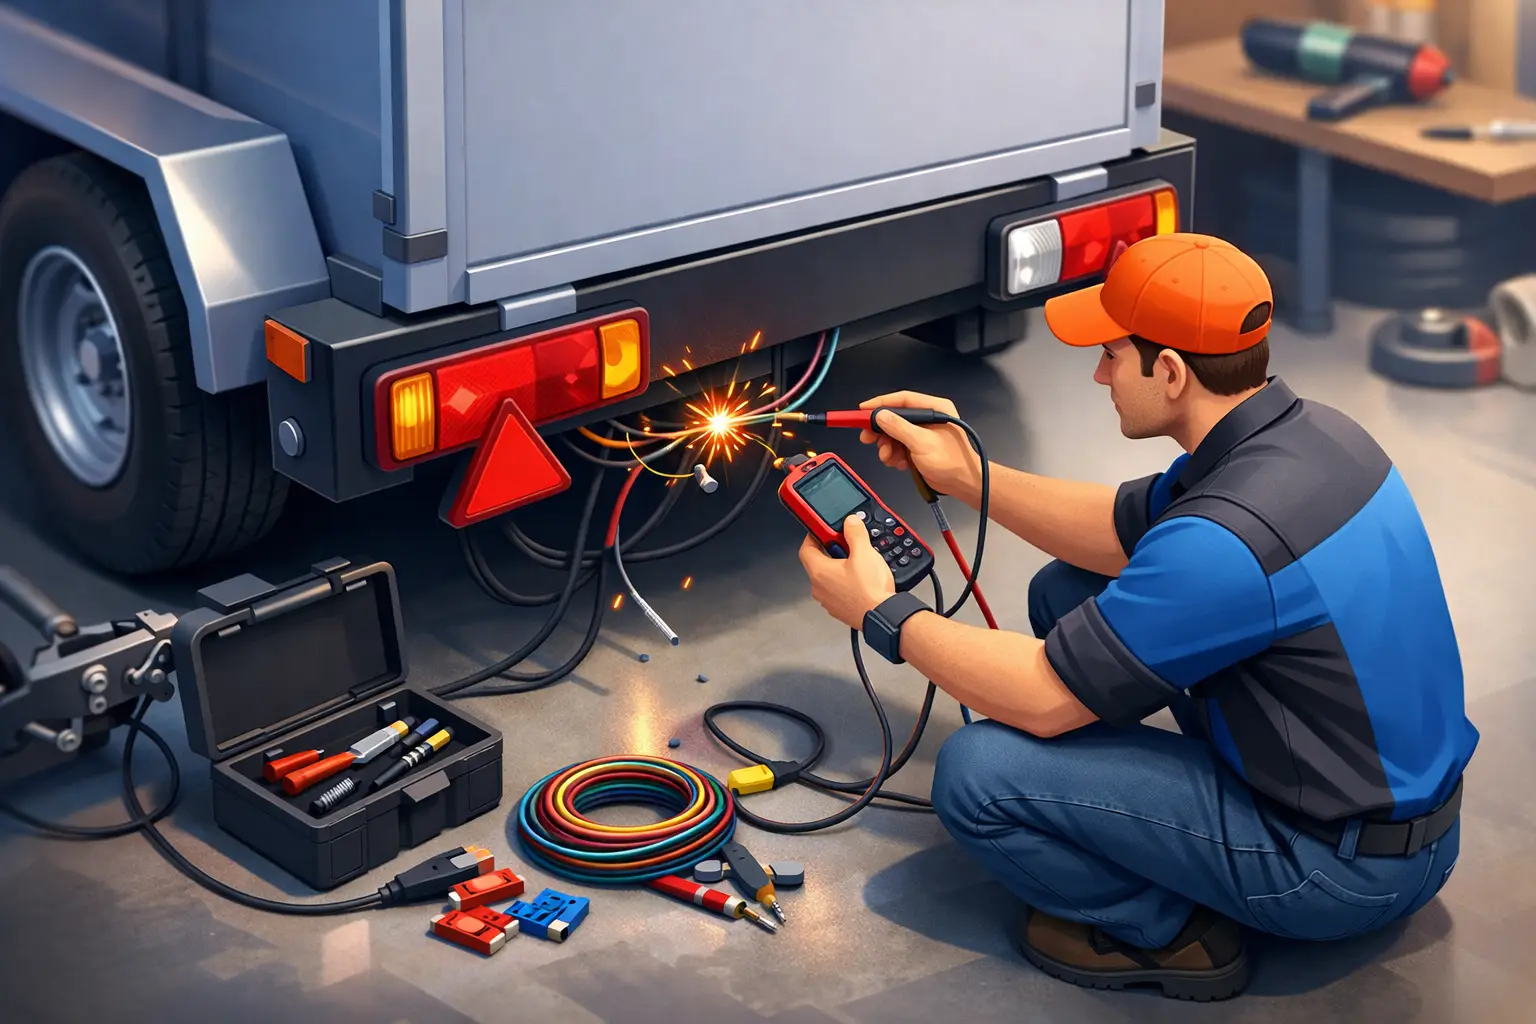
A trailer turns up with one brake light out, an indicator flashing too fast, and clearance lamps that work only when they feel like it. That is a common trailer lighting fault repair example, and it usually points to one thing – the problem is not as simple as a blown bulb.
For operators, tradies and anyone towing for work, lighting faults waste time fast. A trailer can be mechanically sound and still be off the road because the lights are unreliable. The right fix is not swapping random parts and hoping for the best. It is a proper electrical diagnosis that finds where voltage is being lost, where earth is failing, and whether the issue sits in the trailer, the plug, or the towing vehicle.
A real-world trailer lighting fault repair example
Take a tandem trailer used most days for deliveries around Auckland. The customer reports three faults at once. The left indicator works intermittently, the right tail lamp is dim, and both brake lights stop working when the headlights are switched on.
That mix of symptoms matters. When multiple light circuits start affecting each other, it often suggests a poor earth, corrosion in the plug, water in a junction, or damaged wiring causing back-feed between circuits. If only one lamp is dead, the fix may be straightforward. If several lamps behave oddly, the fault is usually further upstream.
The first step is to confirm the complaint properly. That means checking the trailer connected to the towing vehicle, with park lamps, indicators and brake lights operated one by one. You are looking for patterns, not just failures. A dim lamp can tell you as much as a dead one.
In this example, testing shows the left indicator is weak at the lamp, the right tail lamp glows dimly, and pressing the brake pedal makes the tail lamps change brightness. That is classic shared-earth behaviour.
Why these symptoms point to an earth fault
Trailer lighting relies on a clean path out and a clean path back. Power reaches the lamp on one wire, and the return path goes through the earth circuit. When that earth is loose, corroded or broken, current tries to return through another lamp circuit instead. That is when you see strange behaviour like indicators affecting brake lights or tail lamps glowing when they should not.
A lot of DIY repairs miss this because the bulb still lights up a bit. People assume the globe, socket or plug is faulty and replace parts that are not the real problem. The trailer might leave working, then fail again on the next wet morning.
How the fault is diagnosed properly
A sound diagnosis starts at the plug and works through the circuit methodically. On this trailer, the plug pins show green corrosion and light pitting. That already raises suspicion, but you still need to test rather than guess.
Voltage is checked at the towing socket first to make sure the vehicle is supplying each circuit correctly. If the tow vehicle output is good, attention shifts to the trailer plug, then into the trailer loom, then to each lamp assembly and earth point. This avoids blaming the trailer when the issue is actually in the vehicle, which does happen.
On this job, the tow vehicle tests fine. At the trailer plug, voltage drop appears on the earth side under load. That means the fault is not just cosmetic corrosion on the pins. The return path is weak.
Following the loom back reveals an earth connection bolted to the trailer chassis near the drawbar. The eye terminal is rusty, the cable insulation is cracked, and there is evidence of moisture intrusion. Further back, one lamp connector also shows water damage. In practical terms, there are two problems: a poor main earth causing cross-circuit issues, and a secondary connector fault affecting one side more than the other.
The repair process
The repair is simple in principle but has to be done properly if you want it to last. The damaged earth lead is removed and replaced, not patched. The chassis earth point is cleaned back to bright metal, secured correctly and protected against corrosion. Where possible, sealing and routing are improved so water is less likely to get back in.
The corroded plug is also replaced. Reusing an old plug with dirty terminals is false economy, especially on a working trailer exposed to weather, road grime and regular coupling. The affected rear lamp connector is cut out and replaced with a sealed connection, and the loom is checked for any further brittle or rubbed-through sections.
Once repaired, the lights are retested with all functions operating under load. That last part matters. A circuit can show voltage with a meter and still fail when current demand rises. Proper testing confirms the brake lights, indicators, tail lamps and marker lamps all work together without dimming or feeding into each other.
What this trailer lighting fault repair example tells you
The biggest lesson from this trailer lighting fault repair example is that symptoms can mislead you. A bad brake light does not always mean a brake light fault. It could be an earth problem near the drawbar, corrosion in the plug, damage inside the loom, or a poor previous repair hidden under tape.
It also shows why intermittent faults are worth taking seriously early. A trailer that sometimes passes a quick visual check can still fail on the road after vibration, rain or one hard turn of the plug. For commercial users, that risk is not just inconvenient. It can mean compliance issues, delivery delays and avoidable downtime.
The faults we see most often on trailers
In day-to-day trailer electrical work, the repeat offenders are usually corroded plugs, broken earths, water inside lamp housings, damaged trailer looms, and poor joins from earlier repairs. Trailers live a hard life. They sit outside, get backed into yards, dragged through weather, and often have wiring exposed underneath where it catches spray and debris.
LED upgrades can improve reliability, but only if the wiring and earths are sound. Fitting new lamps onto a trailer with old corroded wiring may make the lights look better for a while, but it will not solve an unstable supply or poor return path. Sometimes the right repair is localised. Sometimes the sensible option is replacing sections of loom so the problem does not keep coming back.
When a quick fix is enough, and when it is not
There are times when the issue is minor – a blown fuse, a failed globe, or one damaged connector that can be replaced cleanly. But if the trailer has multiple lighting faults, visible corrosion, brittle insulation or evidence of repeated repairs, a quick fix can cost more in the long run.
For fleet operators and regular towing customers, repeat electrical faults are usually more expensive than doing the job once and doing it properly. The labour spent chasing the same intermittent problem across several call-outs adds up quickly. So does the cost of idle equipment.
Why method matters more than guesswork
Electrical faults punish guesswork. Replacing bulbs, plugs and lamps one by one can eventually stumble onto the issue, but it is not efficient and it is rarely cheap. A proper diagnosis uses testing to narrow down the fault path fast.
That is where specialist trailer and heavy vehicle experience makes a difference. Commercial trailers often have more than basic stop and tail circuits. There may be extra marker lights, work lights, ABS wiring, charging circuits or accessory feeds. The more wiring involved, the more important it is to diagnose accurately rather than assume.
For customers who cannot easily bring a trailer into a workshop, mobile support can make more sense, especially when the fault affects a loaded unit or equipment parked on site. Simms Electrical handles both workshop repairs and field support, which is often the practical answer when downtime matters more than convenience.
Preventing the next lighting failure
The best prevention is regular inspection before a small fault becomes a roadside problem. Check the plug for corrosion or loose pins, make sure the cable is not stretched or dragging, inspect lamps for water entry, and look underneath for rubbed or unsecured wiring. If lights start flickering, dimming or interacting with each other, do not leave it until inspection day.
For business operators, adding trailer light checks into routine vehicle maintenance is worth it. It is a small job compared with the disruption of a trailer that cannot legally move when needed. In many cases, early attention turns a major loom repair into a simple connector or earth repair.
A trailer lighting fault rarely fixes itself, and it usually gets worse before it gets better. If the lights are doing anything unusual, treat that as a warning, not a nuisance – because the cheaper repair is nearly always the one done early.